
Cross stitch is a timeless craft that feels both meditative and magical. Whether you’re stitching a tiny motif for a bookmark or a sprawling sampler for your wall, the process is simple, soothing, and endlessly creative. If you’ve ever wanted to try cross stitch but weren’t sure where to begin, this guide will walk you through the essential supplies and first steps.
Why Try Cross Stitch?
Cross stitch is beginner-friendly, portable, and requires only a handful of tools. It’s a craft that lets you create heirloom-quality pieces while enjoying the rhythm of needle and thread. Plus, it’s easy to personalize—colors, fabrics, and patterns can all be tailored to your style.
Essential Supplies Checklist
Gather these basics before starting your first project:
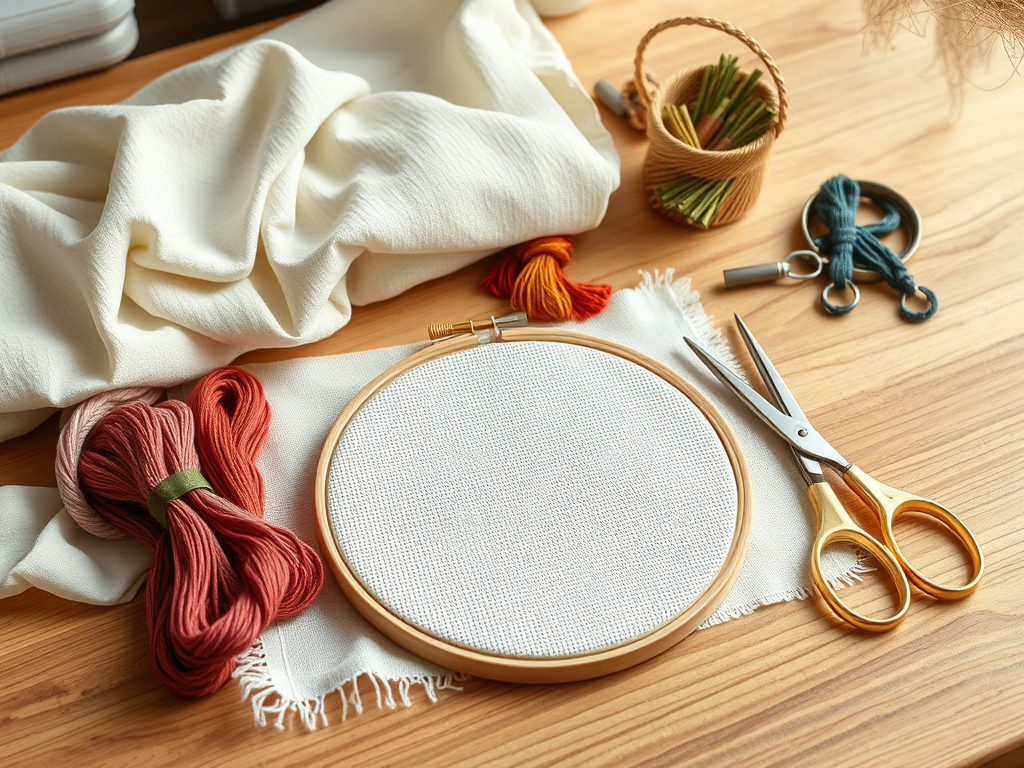
- Fabric (Aida cloth or linen)
Aida cloth is the most common beginner fabric, with evenly spaced holes that make counting stitches easy.
👉 Shop Aida cloth packs on Amazon - Embroidery floss
This is the colorful thread used to stitch your design. DMC and Anchor are popular brands.
👉 View DMC embroidery floss set - Needles
Tapestry needles (size 24 or 26) are perfect—they have a blunt tip that won’t split the fabric.
👉 Embroidery needle sets - Embroidery hoop or frame
Hoops keep your fabric taut, making stitching easier and neater.
👉 Embroidery hoops - Scissors
Small, sharp scissors are best for snipping threads cleanly.
👉 Craft scissors - Pattern or chart
Start with a simple design—like one of my beginner-friendly cross stitch templates.
👉 StitchLore beginner cross stitch patterns
Helpful Extras
These aren’t essential, but they’ll make stitching smoother and more fun:
- Needle minders – keep your needle safe when not stitching
👉 Cactus/Fox/Hedgehog set | Flower Butterfly set | Sheep | Donut | Stack of Books | Mushroom | Flowers | Sassy Cats - Thread organizer kit (includes 40 bobbins + bobbin winder)
👉 Thread organizer kit - Needle threaders
👉 Metal threader | Flower threader | Automatic threader - Seam ripper – for fixing mistakes
👉 Seam ripper - Snag Nab-It tool – keeps colors crisp when floss strays
👉 Snag Nab-It tool - Lighting & magnification
👉 Neck lamp | Magnifying glasses with light
First Steps to Stitching
- Prepare your fabric – Cut it to size, leaving extra margins around the edges.
- Set up your hoop – Place the fabric in the hoop and tighten it.
- Thread your needle – Use two to three strands of floss depending on the look you want and the fabric you chose.
- Start stitching – Follow the chart, making neat little “X” stitches across the fabric. See below for 2 methods to complete your stitches.
Beginner Tips
- Start in the center of your fabric to keep your design balanced.
- Keep the back tidy – avoid long thread carries.
- Don’t worry if your stitches aren’t perfect at first; consistency comes with practice.
How to Make the Stitches
Cross stitch is built from tiny “X” shapes made with your needle and thread. There are two common ways to form these stitches:
- Full Cross Method
Work each stitch completely before moving on. Bring your needle up through the bottom left hole, down through the top right, then up through the bottom right and down through the top left. This creates one neat “X” at a time. It’s simple and keeps your work tidy, especially for small motifs. - Half‑Then‑Return Method
Stitch a row of half crosses first (bottom left to top right), moving across the fabric in one direction. Then, come back the other way to complete the crosses (bottom right to top left). This method is faster for long rows and helps keep your thread tension even.
Both approaches produce the same finished look—choose whichever feels more comfortable for your project.
How to Use a Chart with Symbols
Cross stitch patterns are usually printed as grids filled with symbols, where each square represents one stitch on your fabric. Every symbol corresponds to a specific color of embroidery floss, and you’ll find a key or legend alongside the chart that explains which symbol matches which thread. To use the chart, first locate the center mark—this helps you align your stitching with the center of your fabric. Then, follow the chart square by square, making sure to stitch the correct color in the right place. Some stitchers prefer to highlight or mark off completed sections on the chart as they go, which makes it easier to track progress and avoid mistakes. By treating the chart like a map, you’ll translate the symbols into colorful stitches that build your design step by step.
Affiliate Disclosure
This post contains affiliate links. If you purchase through these links, I may earn a small commission at no extra cost to you. I only recommend products I genuinely believe will help you on your stitching journey and I have used myself.
Feeling cute and curious?
Subscribe to get your first 4 patterns for FREE and instructions on how to get started!

Leave a comment